The closed-die forging process – Mould Design
Over the next few months we will be releasing blogs delving into the step by step closed-die forging process.
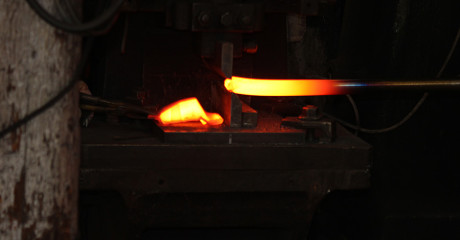
The first step of the closed-die forging process is to create a mould. A mould allows us to forge the hot metal into a particular shape which has been specified by the client. We can create various parts out of a variety of different metals in a range of shapes and sizes.
Designing and creating a mould is undertaken using the following steps:
3D Design
Using CAD (Computer aided design) we produce a 3D drawing from either our customers drawing or a sample they supply us. This process is a lot quicker than manual drawings and allows us to move quickly into producing the 3D plastic model.
3D Plastic Model
After confirming the 3D design, we produce a 3D plastic model. This provides the customer with an exact replica of their finished product but in plastic. This helps confirm we are on the same page with the customer and reduces errors and wasted time.
Cut Dies and Tooling for Manufacture
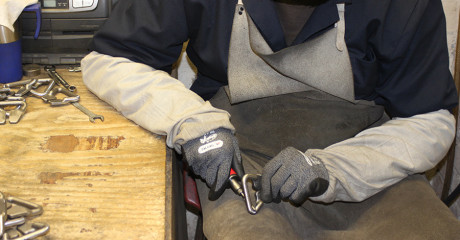
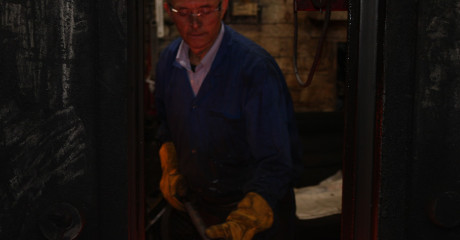
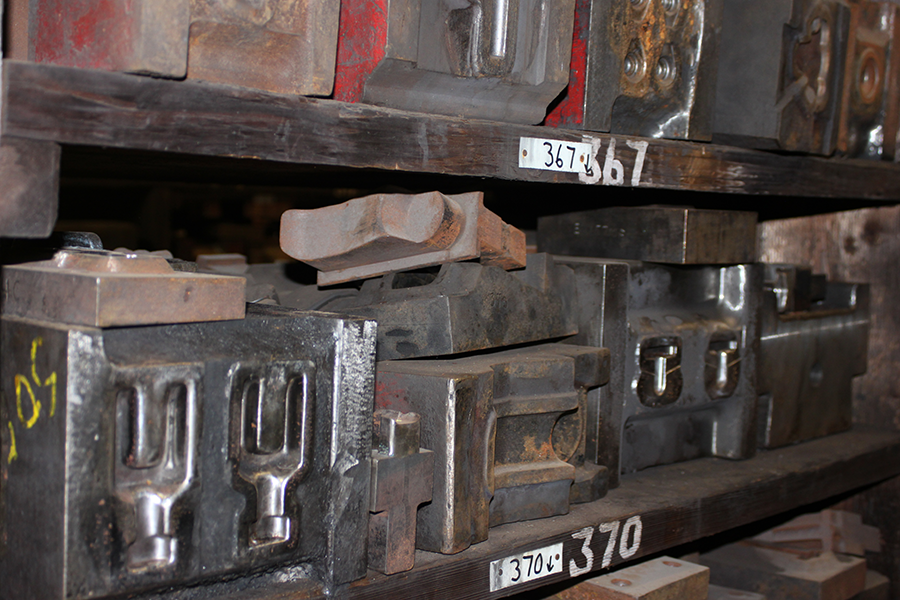
Following the approval of the 3D plastic model, it’s time to push forward with the next step. This involves cutting dies and tooling for the manufacture. The mould is made of refractory ceramic metals, which maintain their shape at high temperatures. This allows us to produce many castings from a single mould.
Time estimate
Following our thorough process and depending on customer approval times. This step of the forging journey usually takes roughly 1-4 weeks.
Follow us on twitter to find out about the next steps in the closed-die forging process.
Victoria Forging has been providing high quality forging services since 1904. We have worked with some high profile brands and have a wide range of knowledge about the industry. Get in touch with us today to discuss your forging requirements.